Large image files can be inconvenient for websites, emails, social media, and everyday storage. They can take longer to upload, use more storage, and sometimes make web pages heavier than necessary.
If you want to compress images without losing quality, the main goal is to reduce unnecessary file data while keeping the image looking clear. The trick is to find a sensible balance between file size and visual quality instead of using the strongest compression possible.
This guide explains practical ways to make images smaller while keeping them suitable for their intended use.
What Does Image Compression Mean?
Image compression is the process of reducing the amount of data stored in an image file.
Photos taken with modern phones and cameras can easily be several megabytes, even when you only need them for a website, email, or online form. Compression can remove some unnecessary information or store the image more efficiently, resulting in a smaller file.
The important thing is that the compressed image should still look good for the purpose you need it for.
Why Should You Compress Images?
There are several reasons to reduce the size of large image files.
For websites, smaller images can reduce the amount of data visitors need to load. This can be particularly useful for people using mobile devices or slower internet connections.
Compressed images are also easier to upload, send through email, share through messaging services, and store on your computer or phone.
Instead of deleting large images simply because they take up too much space, compression gives you a way to make them more manageable.
How to Compress Images Without Losing Quality
The best approach is to avoid excessive compression.
Start with the original image whenever possible. Then use a reliable compression tool and choose settings that reduce the file size while keeping important details visible.
The ideal result depends on how you plan to use the image. A website image may not need the same level of quality as a photograph intended for professional printing.
For online use, moderate compression can often produce a much smaller file without creating an obvious difference in appearance.
Compress Images Using ToolRava
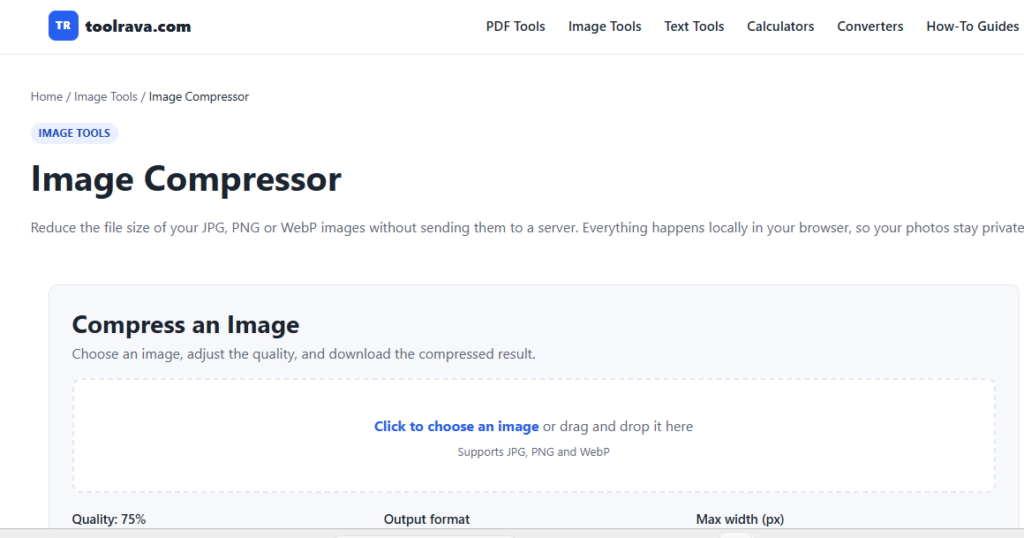
If you need a quick way to reduce an image file, you can use the ToolRava Image Compressor directly in your web browser.
Open the ToolRava Image Compressor, select the image you want to optimize, and start the compression process. Once the smaller version is ready, compare it with the original.
If the file size has been reduced and the image still looks clear at its normal viewing size, it should be ready to use.
This approach can be useful when you don’t want to install image-editing software just to reduce a file.
Choose the Right Image Dimensions
Compression isn’t the only way to make an image smaller.
Sometimes an image has much larger dimensions than necessary. For example, you may have a photograph several thousand pixels wide even though the website only displays it at a much smaller size.
Reducing the dimensions first can remove unnecessary pixels and often results in a smaller file.
However, keep the original image somewhere safe if you may need the full-resolution version later.
Select an Appropriate Image Format
The file format you choose can have a noticeable effect on image size.
JPEG is commonly used for photographs because it can store detailed images relatively efficiently.
PNG can be useful for graphics, screenshots, and images where transparency is important.
WebP is another option that can provide a good combination of image quality and smaller file sizes for many websites.
There isn’t one format that is best for every situation. Consider the type of image and where it will be used.
Avoid Compressing an Already Compressed Image Too Much
If an image has already been compressed several times, applying additional compression may reduce its quality more noticeably.
Whenever possible, begin with the original or highest-quality version available.
This gives you more room to reduce the file size while preserving important details.
Check the Image After Compression
Never judge an image only by its file size.
After compression, open the new file and look at it carefully. Check areas such as text, sharp edges, faces, small details, and other important parts of the image.
If the image looks blurry, has visible artifacts, or loses important details, try using less compression.
The smallest possible file isn’t necessarily the best result. A slightly larger image that still looks good may be a better choice.
How Much Should You Compress an Image?
There is no universal compression level that works for every image.
A small website thumbnail may be fine with a much smaller file than a large photograph intended for display.
Your target should be the smallest practical file that still provides acceptable visual quality for its purpose.
For important photographs or images containing fine details, it is usually better to prioritize quality. For ordinary website graphics, stronger optimization may be acceptable.
Tips for Keeping Good Image Quality
A few simple habits can help you get better results:
- Keep a backup of the original image.
- Avoid excessive compression.
- Resize very large images when necessary.
- Choose a suitable file format.
- Compare the compressed image with the original.
- Check important details before using the final version.
- Don’t focus only on achieving the smallest possible file size.
These steps can help you reduce file size without making the image noticeably worse.
Frequently Asked Questions About Image Compression
Is image compression safe?
Yes. Image compression is generally safe when you use a reliable tool. It is still a good idea to keep the original file so you have a backup if you are not satisfied with the compressed version.
Which image format should I use?
It depends on the image. JPEG is commonly suitable for photographs, PNG can work well for graphics and transparency, while WebP can be a useful choice for many web images.
Will compressing an image make it blurry?
It can if you use too much compression. Excessive compression may remove details and create visible artifacts. Using moderate compression and checking the final image can help avoid this problem.
Should I resize an image before compressing it?
If the image dimensions are much larger than necessary, resizing it first can be helpful. Removing unnecessary pixels can reduce the file size before compression is applied.
Is it better to have the smallest possible image?
Not always. The goal is to find a practical balance between file size and quality. An extremely small image may load quickly but could look noticeably worse.
Conclusion
Compressing images can make them easier to upload, store, send, and use on websites. The best results come from reducing unnecessary data without applying more compression than the image actually needs.
Start with a good-quality original, consider whether the dimensions are larger than necessary, choose an appropriate format, and check the final image after compression.
For a quick browser-based option, the ToolRava Image Compressor can help reduce image file sizes without requiring complicated image-editing software.