Large image files can be frustrating when you’re trying to upload them to a website, send them to someone, or store a large collection of photos. They can also use more bandwidth than necessary when visitors load a webpage.
The good news is that you usually don’t need to sacrifice much visual quality to make an image smaller. Resizing the dimensions and applying sensible compression can often make a noticeable difference.
What Does Image Size Mean?
The term “image size” can mean two different things.
First, there are the dimensions, such as 4000 × 3000 pixels. Second, there is the file size, which might be 500 KB, 2 MB, or more.
These two are related, but they are not the same thing. An image can have large dimensions and a large file size, while another image with similar dimensions may take up much less storage because it has been compressed more efficiently.
Why Reduce Image Size for a Website?
Most websites display images within a particular area of the page. If an image is much larger than the space available for it, visitors may not notice any benefit from all those extra pixels.
Reducing an unnecessarily large file can make it easier to upload and share. Smaller images can also mean less data needs to be transferred when a webpage loads.
The goal isn’t to make every image as small as possible. Instead, aim for a reasonable balance between file size, dimensions, and visual quality.
Resize Images Before Uploading
One of the easiest ways to reduce an image is to change its dimensions.
For example, suppose you have a photo that is 4000 pixels wide, but your website only displays it at around 1200 pixels wide. Uploading the full-size version may be unnecessary.
Creating a smaller copy can reduce the amount of data in the file while still providing enough resolution for the page.
It’s a good idea to keep the original image somewhere safe before resizing it, especially if you may need a high-resolution version later.
Compress Images Online
Resizing deals with the dimensions of an image, while compression focuses more directly on the amount of data stored in the file.
You can use the Image Compressor on ToolRava to reduce image file size directly in your browser.
A practical workflow is:
- Select the original image.
- Check whether its dimensions are larger than necessary.
- Resize it if needed.
- Open the ToolRava Image Compressor.
- Compress the resized image.
- Compare the compressed version with the original.
- Keep the version that provides the best balance between quality and size.
Choose the Right Image Format
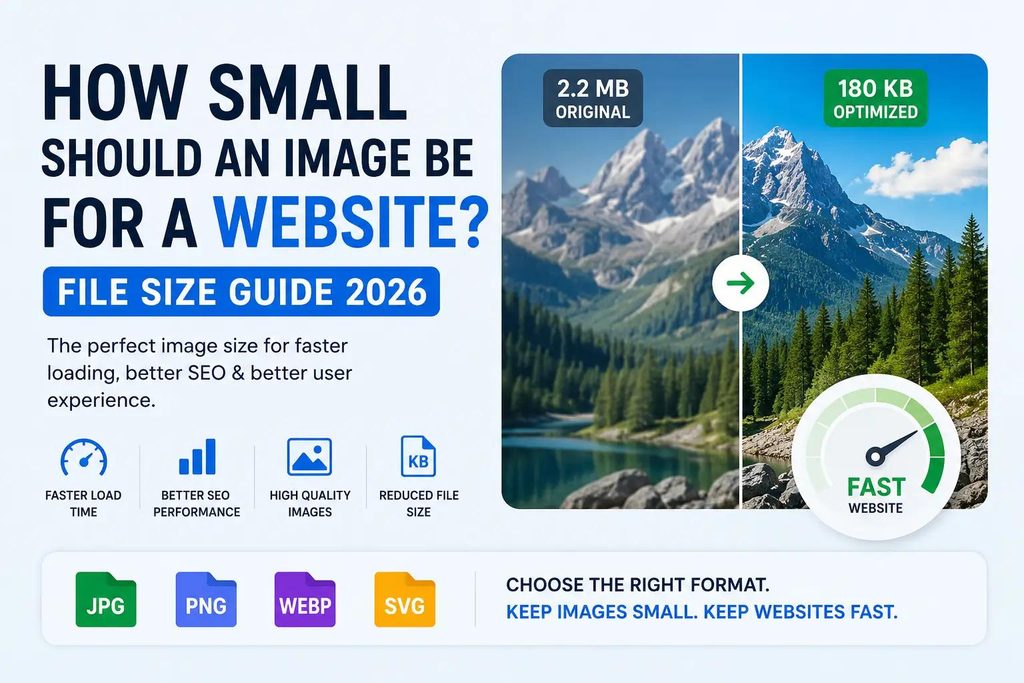
The format you choose can have a noticeable effect on file size.
JPG is commonly used for photographs and other images containing many colors. PNG is often more suitable for graphics, screenshots, logos, and images that need transparency.
WebP and other modern formats can also provide good compression for websites, depending on the platform and browser support available.
There isn’t one format that is best for every image. Consider what the image contains and where you plan to use it.
Do Smaller Images Always Look Worse?
Not necessarily.
If an image starts with unnecessarily large dimensions or contains more file data than it needs, reducing it may have little visible effect. A properly optimized image can still look sharp on a webpage.
The problem usually comes from excessive compression. If you compress an image too aggressively, you may notice blurry details, blocky areas, or other artifacts.
Always look at the final image before replacing the original.
How Small Should a Website Image Be?
There isn’t a universal file-size limit that works for every website image.
A large banner or photograph may reasonably need more data than a small icon or thumbnail. The dimensions of the image, its visual complexity, its format, and where it appears on the page all affect the appropriate size.
Instead of aiming for an arbitrary number, focus on removing unnecessary dimensions and file data while keeping the image clear enough for its intended use.
Common Mistakes When Reducing Images
A few mistakes can make image optimization less effective:
- Making an image smaller than the space where it will be displayed.
- Compressing the file so heavily that details become difficult to see.
- Uploading a huge original image when a smaller version would work just as well.
- Deleting the original before confirming that the optimized version is suitable.
- Looking only at file size and ignoring image dimensions.
- Using the same image format for every type of image.
A quick visual check after optimization can help you avoid most of these problems.
Frequently Asked Questions
What is the easiest way to reduce image size?
Start by checking the image dimensions and resize the image if they are unnecessarily large. You can then use an online Image Compressor to reduce the file size further.
Does reducing image dimensions reduce file size?
It often does. When an image contains fewer pixels, there is generally less information that needs to be stored. The actual reduction depends on the image format and how it is compressed.
Should I compress every image?
Not necessarily. Compression is most useful when an image is larger than it needs to be for its intended purpose. The amount of compression should depend on the image and where you plan to use it.
Which image format is best for websites?
It depends on the image. JPG can work well for photographs, PNG is useful for graphics and transparency, and modern formats such as WebP can offer efficient compression for many web uses.
Final Thoughts
Reducing image size doesn’t have to mean making an image look noticeably worse. In many cases, simply choosing sensible dimensions and applying moderate compression is enough to create a smaller, more manageable file.
If you regularly prepare images for websites or online uploads, an online Image Compressor can make the process much quicker without requiring dedicated image-editing software.